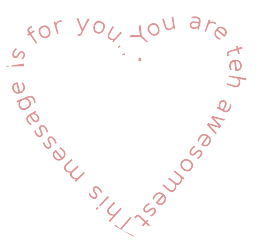
Again, I am not the one you should be reading a tutorial on Gimp from, but since you keep coming here looking for it, here's how to make that heart and words following the design.
- Make a Path using Bezier curves (B).
Look, don't make this too hard. You only need 3 points to make a heart. Sure, you can use more, but Bezier makes nice curves and frankly, don't strain yourself making this.
Start at the bottom of the heart, click-place an anchor. Above that, click-place your divot mark where you want the "V" of the top of the heart. Then, place an anchor near your beginning.
Then, starting about two-thirds up, drag out your heart bumps. It's not important how perfect you get it, this is your heart. - Write your text (T)
Whatever is suitably sappy and from your heart, that's going to be on your heart. When you're ready, click Text along Path and watch with glee. You may have to Undo, resize, retype, etc. to get the message length to match your heart size, but there you are. Don't forget the "space between letters" setting that can help as well. - Hide your text
- Select your background layer
- Select from path
- Bucket fill your color of choice
- Select none
- (Optional) Colors, Color to Alpha (OK)
Save result as a .png and you can use it on any background color you want.
No comments:
Post a Comment